Monday, May 29, 2006

Stair Rail Post Holes

After measuring and determining the locations of the stair rail posts, I dug two holes - each about 1'6" deep. Next up: build the stairs!

Friday, May 26, 2006

Railings Done!

Took the day off. Weather was cold and windy in the morning, so I went to Pandya's to get 4 boards for the stair runners. Also went to Lowe's and got boards for the stair risers, patio stones for the landing at the bottom of the stairs, and a roll of weed block.

When it got warmer, I installed the remaining two railings. The deck has a perimeter now, with an opening for the stairs (which is blocked by a child gate right now). Meanwhile, Manisha rolled out the weed block to mark the stairs & landing area.

With a grill and the patio table/chairs in place, the deck sported a completed look!

Thursday, May 25, 2006

Wiring Done


I secured the perimeter wiring all along the underside of the framing using staples (the types that are hammered in). I also connected the individual post light 'pigtails' to the perimeter wire to ensure that all lights were working.

Sunday, May 21, 2006

3 More Railings Installed! 2 left...

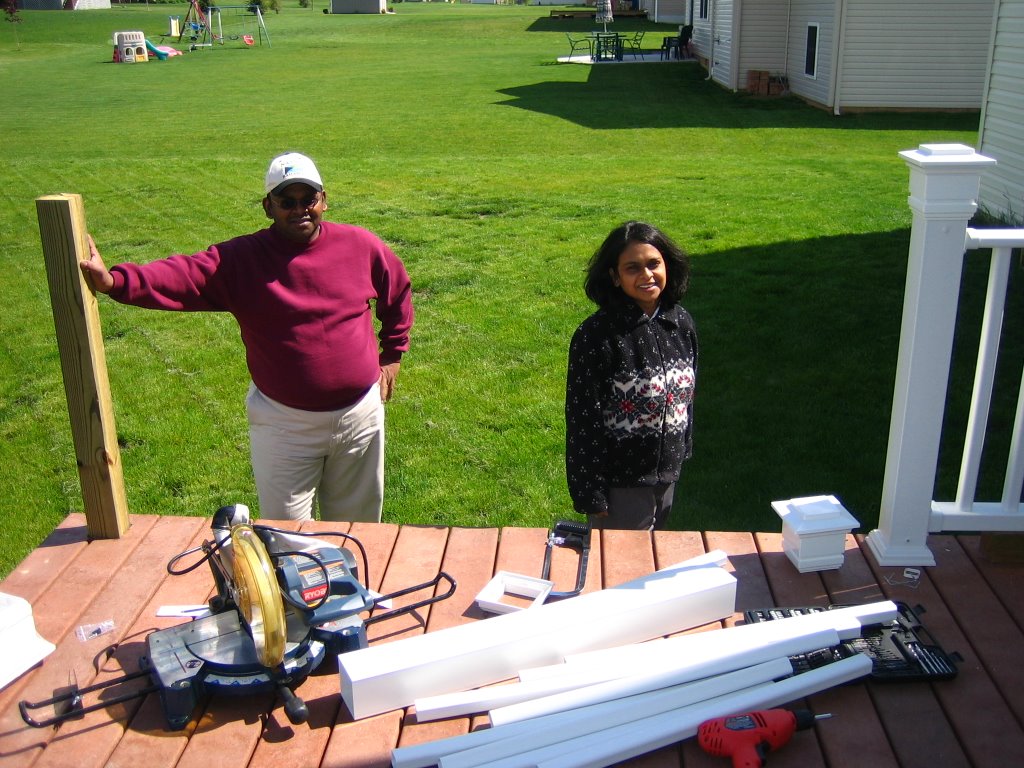
Reddy, Manisha & I installed 3 more railings. We followed the same procedure that we used for the first railing. However, an added task was to cut the vinyl portions of the top and bottom rails symmetrically (we used the mitre saw for this).
[Better pictures to be captured when the sun hits the deck directly]

Saturday, May 20, 2006

First Deck Railing Installed! 5 left...


Manisha & I installed the first railing as well as the wiring as follows:
  1. Cut a 12-gauge outdoor lighting wire to a length of about 4'6" (i.e. make a "pigtail")
  2. Thread the wire through a railing post cover, and insert cover with base cap over a railing post so the wire comes out 6" at either end
  3. Connect top end of wire to cap light, and place cap light on post
  4. Attach railing post cover to post using screws
  5. Repeat above steps for next post
  6. Cut top & bottom railings to size - both vinyl (sleeve) and metal (inside rail) parts of each
  7. Screw in center support into bottom rail
  8. Place bottom rail on 4x4 stock, and position between two posts. Screw in end caps into place
  9. Insert balusters into bottom rail slots
  10. Place top rail on balusters - align balusters with slots in top rail
  11. Press top rail into place, check level and screw in end caps into place.
  12. Connect post light pigtail to perimeter lighting wire.

Sunday, May 14, 2006

Railing Posts Installed


Using a SKIL jigsaw, Reddy and I made openings on the deck floors at appropriate locations . We then inserted 4x4s through the holes. We buried the post ends in the ground, and bolted their middles to the deck frame. We sawed them off using a circular saw/handsaw to a height of about 38".

Saturday, May 13, 2006

Deck Floor Boards Timmed


With Reddy's help, the deck floor boards were all trimmed to a straight line. We snapped a chalk line, and used a circular saw for the purpose.

Friday, May 12, 2006

Deck Flooring - Final


I put in the final two rows of the deck floor. I had waited this long to figure out how to get the railing posts through the floor to bolt on to the deck framing. Now the path was clear!

In order to prevent the last row from having a huge overhang, I had to add another 2x8 to the end of the framing (picture).